DIY Kitchen Cabinet Handle & Pull Installation
Install cabinet knobs and pulls straight the first time: use a hardware jig to drill precise, evenly spaced holes and avoid misalignment.
Cabinet Handle Jig,Aluminum Cabinet Hardware Jig Tool for Handle Pull Knob
DOCXCDO
Ravinte Matte Black Drawer Pulls, 1-1/4 Inch Cabinet Knobs,25 Pack
Ravinte
Installing new cabinet hardware is a two-hour job that transforms a kitchen — until one of the holes is an eighth of an inch off and every handle sits slightly crooked, and now you’re staring at it every time you make coffee. The single mistake that ruins this project is drilling freehand. A hardware jig turns a guessing game into a repeatable, measured process, and it’s the difference between a kitchen that looks professionally done and one where every knob is just a little bit wrong.
What You Need
- A cabinet hardware jig — the tool that makes the holes land exactly where they should.
- New knobs or pulls — matched to your existing hole spacing if you’re replacing hardware.
- A drill and the right bit, a screwdriver, and a pencil.
Cabinet Handle Jig,Aluminum Cabinet Hardware Jig Tool for Handle Pull Knob
DOCXCDO
- Premium Durable Construction: Crafted from high-quality aluminum alloy, this cabinet hardware jig offers superior wear r…
- Precision Engineered for Accuracy: Achieve drill-ready perfection with laser-etched measurement guides that eliminate gu…
- Effortless Professional Results: Simplify handle installations with an intuitive template design that secures to surface…
- Pro-Grade Tool for All Skill Levels: Ideal for carpenters, woodworkers, and home renovators, this cabinet hardware jig t…
As an Amazon Associate we earn from qualifying purchases.
Ravinte Matte Black Drawer Pulls, 1-1/4 Inch Cabinet Knobs,25 Pack
Ravinte
- Dimensions: The heavy circular cabinet knob measures 1-1/4 inch (32mm) top diameter, 1/2 inch (12.7mm) base diameter, an…
- Wide Application: The matte black cabinet knob features soft lines, adding a sophisticated touch to kitchen, bathroom, a…
- Easy Installation: Cabinet door knobs have a single hole that is easy to install into the pre-drilled hole by including…
- Solid Material: The cabinet pulls constructed by zinc alloy, plated by matte black finish, makes the cabinet door knobs…
As an Amazon Associate we earn from qualifying purchases.
The Step-by-Step
1. Match Your Hardware’s Hole Spacing
Cabinet pulls come in standard center-to-center spacings — most commonly 3 inches, 3-3/4 inches, or 5 inches. Measure the distance between the screw holes on your new pull, and set the jig to that exact spacing. This is where the project is won or lost: the jig’s laser-etched guides make the measurement repeatable so every door matches.
2. Clamp the Jig and Drill Straight
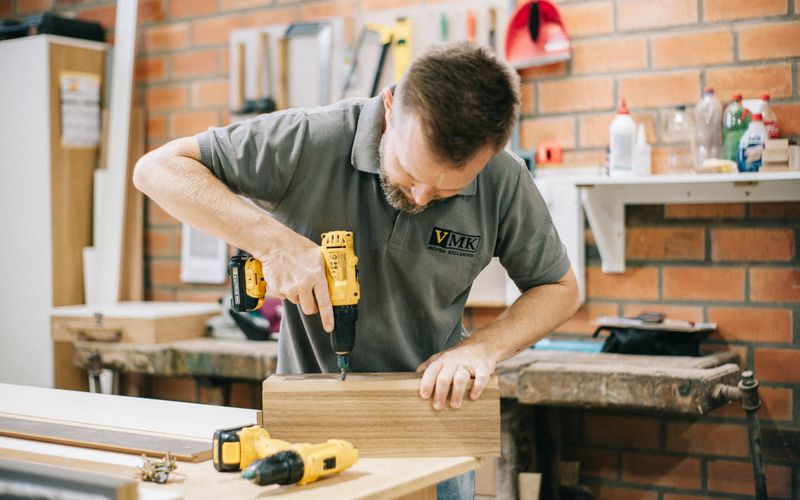
Position the jig on the door or drawer front, clamp it in place, and drill through its guides. The jig keeps the bit from walking, so the hole lands perpendicular to the face instead of at a slight angle. Drill from the front to avoid blowing out the back of the door.
Drill from the front face of the door toward the back, and go slow on the last quarter inch. Rushing the exit is how you splinter the back surface of the door.
3. Mount and Tighten
Feed the screws through from the inside, thread them into the knob or pull, and tighten until the hardware sits snug against the face. Don’t overtighten — a pull that’s cranked down will crush into the finish and leave a dent. Snug, then a quarter turn past contact, is enough.
4. Check for Consistency
Step back and sight down the row of doors. The jig should have kept every hole identical, but verify that each handle is level and evenly placed before you do the whole kitchen. Catching one off-door now beats re-drilling after you’ve committed to a full row.
Troubleshooting the Common Problems
- Pull feels loose after tightening: the screw is bottoming out in the knob. Add a washer or use a shorter screw.
- Hole landed slightly off: don’t re-drill next to it — fill the old hole with a toothpick and wood glue, let it dry, then drill fresh through the jig.
- Replacing old hardware with different spacing: you’ll need to fill the old holes and drill new ones — a jig with adjustable spacing is what makes the new set line up.
The Verdict
A cabinet hardware jig is a $20 tool that saves you from the single most common — and most visible — DIY mistake in this project. Pair it with solid hardware, match the hole spacing before you drill, and your handles will sit dead straight across every door. It’s the difference between “looks fine from across the room” and “looks professionally installed.”