Winter Pipe Insulation & Freeze Prevention
Prevent frozen pipes before the first hard freeze: which pipes freeze, how to insulate them, and the outdoor-spigot steps most people forget.
40 Pack 1 Inch Pipe Insulation Foam Tube Self-Adhesive Foam Pipe Covers Insulation Wrap for Spigot Winter Outside Pipes Sprinkler Water Heater Pipes Freeze Protection (40 Pcs, 1'')
Yugada
A frozen pipe is a time bomb: the water inside expands as it freezes, and when the pipe finally splits, it can dump gallons into your walls and basement the moment it thaws. The time to prevent this is now, before the first hard freeze — and the fix is cheap insulation on the right pipes, not an emergency call to a plumber at 2 a.m. Here’s what actually freezes and how to protect it.
Do this work in the fall, before temperatures drop below freezing. Once a pipe has frozen, your only safe options are a slow thaw with a hair dryer or heat tape — never an open flame.
Which Pipes Freeze First
Not every pipe in the house is at risk. The ones that freeze are the ones exposed to cold:
- Pipes in exterior walls — supply lines run through wall cavities with no insulation on the cold side.
- Pipes in unheated spaces — basements, crawlspaces, garages, and attics.
- Outdoor spigots and hose bibs — the most common freeze point, because the valve sits on the cold side of the wall.
If a pipe runs through an unheated space or an exterior wall, it’s a freeze candidate. Those are the ones worth insulating.
40 Pack 1 Inch Pipe Insulation Foam Tube Self-Adhesive Foam Pipe Covers Insulation Wrap for Spigot Winter Outside Pipes Sprinkler Water Heater Pipes Freeze Protection (40 Pcs, 1'')
Yugada
- [PERFECT SIZE]: 40 PACK. Each pipe insulation tube length: 1.31 ft, with a wall thickness of 0.59 inches. A total of 40…
- [MATERIAL]: Our insulating foam pipe is made of high-quality rubber foam and aluminum film, making it waterproof, oil-re…
- [PACKAGE INCLUDED]: One purchase gets you 40 pcs 1.31 ft long insulated tubes. Multiple quantity kits are available to m…
- [EASY TO INSTALL]: The insulation pipe features a pre-seam design, allowing you to simply clip it onto the pipe, remove…
As an Amazon Associate we earn from qualifying purchases.
How to Protect the Pipes
1. Insulate the Exposed Runs
Self-adhesive foam pipe insulation is the simplest fix: it comes pre-slit, so you clip it over the pipe and it stays in place. Cover every exposed foot in the unheated spaces, and tape the seams where two lengths meet so there are no gaps for cold air to reach the pipe. Foam insulation slows heat loss enough to buy hours of protection through a normal cold snap — it won’t stop a pipe in a truly unheated, exposed location through a deep freeze, but it’s the first and cheapest layer.
2. Shut Off and Drain Outdoor Spigots
The single most-forgotten step: shut off the interior valve that feeds each outdoor spigot, then open the spigot outside and leave it open so the pipe can drain. Disconnect and drain garden hoses, and store them. A spigot left full of water is a burst pipe waiting for spring.
3. Let Faucets Drip on the Coldest Nights
For pipes on exterior walls that you can’t easily insulate, let the affected faucet drip slowly on nights when the temperature is forecast to stay well below freezing. Moving water freezes far slower than still water, and a slow drip relieves the pressure that actually bursts the pipe.
4. Keep the Heat On and Cabinet Doors Open
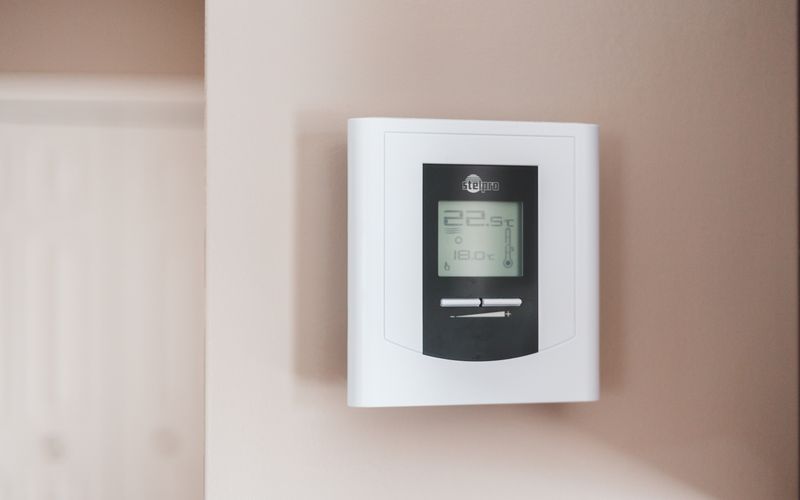
If you’ll be away during a cold snap, never drop the thermostat below about 55°F — and open the cabinet doors under sinks on exterior walls so warm room air can reach the pipes. These two habits prevent most of the “frozen pipe while we were away” floods.
The Verdict
The freeze-prevention work is boring but cheap: insulate the exposed runs, drain and shut off the outdoor spigots, and let the vulnerable faucets drip on the coldest nights. A roll of self-adhesive foam insulation and half an hour in the fall beats a burst pipe and thousands in water damage in the spring. The pipes that freeze are the ones you ignored in October.